Synthetic grass is an excellent choice for homeowners and businesses looking for a low-maintenance, evergreen landscape. However, the secret to a flawless synthetic lawn lies in the preparation of the base. A well-prepared base ensures longevity, stability, and proper drainage. Here’s a step-by-step guide on how to prepare the base for synthetic grass.
Step 1: Gather Your Materials and Tools
Before starting, ensure you have the following materials and tools:
- Crushed rock or gravel (preferably 20mm to dust)
- Weed barrier fabric
- Compactor (manual or plate compactor)
- Shovel
- Rake
- Level
- Measuring tape
- Landscape stakes and string (optional for marking the area)
Step 2: Measure and Mark the Area
Use landscape stakes and string to outline the area where you plan to install synthetic grass. This helps you visualize the space and ensures accurate measurements for materials.
Step 3: Remove Existing Grass and Soil
Using a shovel, remove any existing grass, weeds, or vegetation in the area. Excavate the soil to a depth of approximately 3-4 inches (7.5-10 cm). This depth allows room for the sub-base and synthetic grass to sit flush with surrounding surfaces like walkways or patios.
Step 4: Install a Weed Barrier
Lay a weed barrier fabric across the excavated area to prevent weed growth under your synthetic grass. Ensure the fabric is taut and overlaps at the seams by at least 2 inches (5 cm).
Step 5: Add the Sub-Base Material
Fill the excavated area with crushed rock or gravel to a depth of 2-3 inches (5-7.5 cm). Spread the material evenly using a rake, ensuring there are no large rocks or uneven areas.
Step 6: Compact the Sub-Base
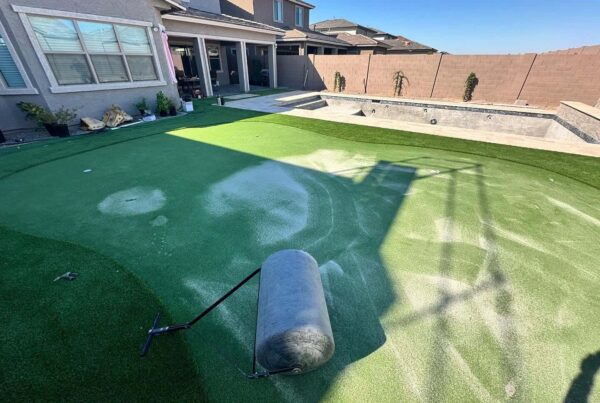
Using a compactor, tamp down the sub-base material until it is firm and level. Proper compaction prevents shifting and provides a stable foundation for the synthetic grass. Repeat the process until the surface is smooth and even.
Step 7: Level the Base
Use a level to check the surface for evenness. Adjust as needed by adding or removing sub-base material. The surface should slope slightly to ensure proper drainage, preventing water from pooling on the synthetic grass.
Step 8: Apply a Fine Sand Layer (Optional)
For added smoothness, you can spread a thin layer of fine sand over the compacted base. Use the compactor again to press the sand into the sub-base. This step is optional but can enhance the final appearance.
Step 9: Final Inspection
Perform a final check to ensure the base is compacted, level, and free of debris. Address any uneven areas or loose spots before proceeding with the installation of synthetic grass.
Step 10: Proceed with Synthetic Grass Installation
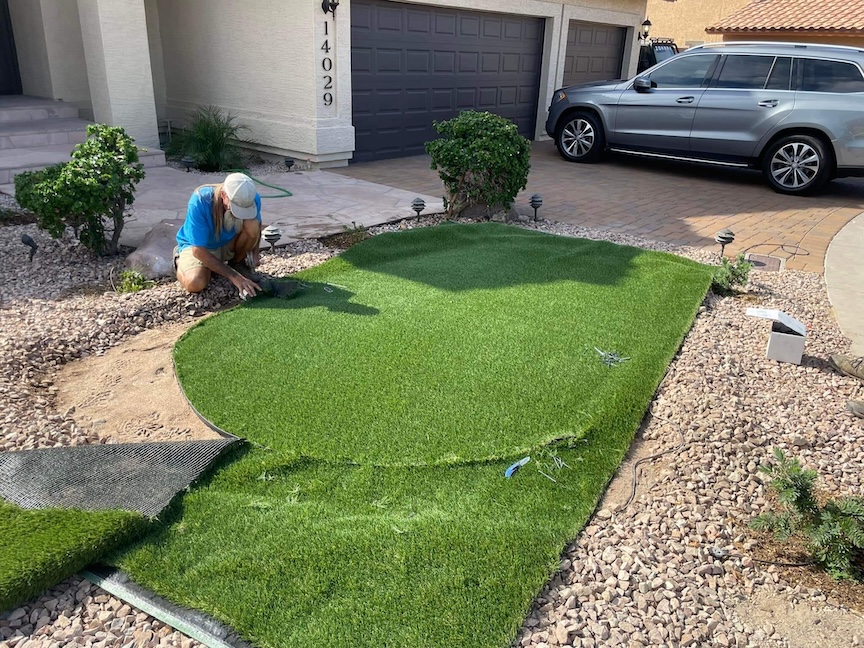
With your base ready, you can now lay and secure your synthetic grass. Follow the manufacturer’s instructions for cutting, joining, and securing the grass for a professional finish.
Tips for Success
- Plan for Drainage: Ensure your base allows for proper water runoff. Poor drainage can lead to puddles and damage the grass over time.
- Invest in Quality Materials: Using high-quality sub-base materials and weed barriers ensures durability and long-term performance.
- Take Your Time: Rushing the base preparation can lead to uneven surfaces and premature wear on the synthetic grass.
By following these steps, you’ll create a durable and stable base for your synthetic grass, ensuring a beautiful and long-lasting lawn. Happy landscaping!


