Synthetic grass is a versatile and durable solution for landscaping, sports fields, and playgrounds. Installing it requires meticulous attention to detail to ensure it stays in place and performs optimally. One of the most critical steps in the process is fastening the synthetic grass to the base layer. This blog explores how this is done, including the types of nails used and their unique property of weathering to improve stability over time.
The Installation Process: Laying the Groundwork
Before fastening synthetic grass, the base layer must be prepared:
- Base Preparation:
- A compacted layer of crushed stone or decomposed granite is laid to create a stable, well-draining foundation.
- A geotextile fabric is often placed over the base to prevent weed growth and provide an extra layer of support.
- Positioning the Grass:
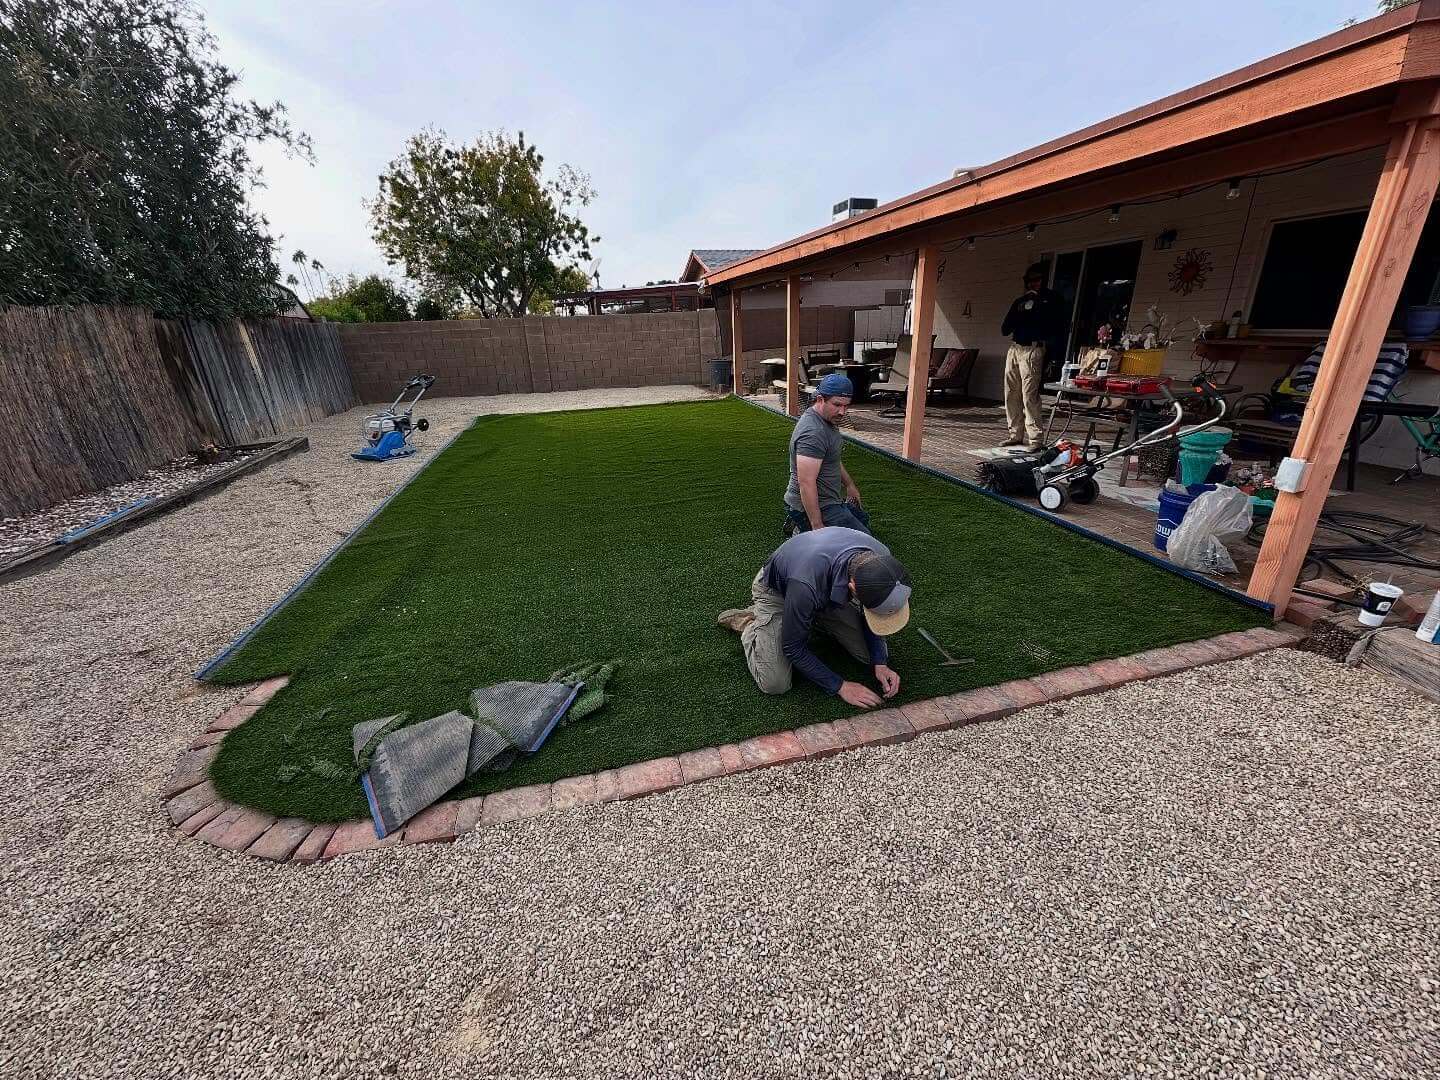
- The synthetic grass is rolled out and trimmed to fit the designated area.
- Seams are aligned carefully to ensure a seamless appearance.
Fastening the Grass: Types of Nails Used
Nails are an essential component for securing synthetic grass. They anchor the grass to the base layer and prevent it from shifting or curling. The following types of nails are commonly used:
- Galvanized Nails:
- Made from steel and coated with zinc to resist corrosion.
- Popular for outdoor installations due to their durability.
- Non-Galvanized (Plain Steel) Nails:
- These nails are intentionally left uncoated.
- Over time, they weather and rust, creating a natural bond with the base material.
- U-Shaped Turf Staples:
- A variation of nails used to secure edges and seams.
- Their shape provides additional holding power.
The Role of Weathering in Nail Performance
Non-galvanized nails offer a unique advantage: they rust over time, which enhances their grip. Here’s how it works:
- Rust Formation:
- Exposure to moisture in the environment causes the nails to oxidize.
- Rust creates a rougher surface, increasing friction between the nail and the base material.
- Enhanced Stability:
- As the rust binds with the crushed stone or decomposed granite, it creates a more secure anchor.
- This process reduces the likelihood of the nails loosening over time.
Key Considerations for Long-Lasting Installation
- Spacing: Nails should be spaced evenly along the perimeter and at seams, typically every 6 to 8 inches.
- Depth: Ensure nails are driven deep enough to penetrate the base layer without compromising the turf’s surface.
- Seam Adhesion: Use specialized seam tape and adhesive in addition to nails to secure joints.
Conclusion
Fastening synthetic grass is both an art and a science. By choosing the right type of nails and understanding how weathering enhances their performance, you can ensure a long-lasting and durable installation. Whether for a residential lawn, a sports field, or a commercial property, the right approach to securing synthetic grass will keep it looking pristine for years to come.