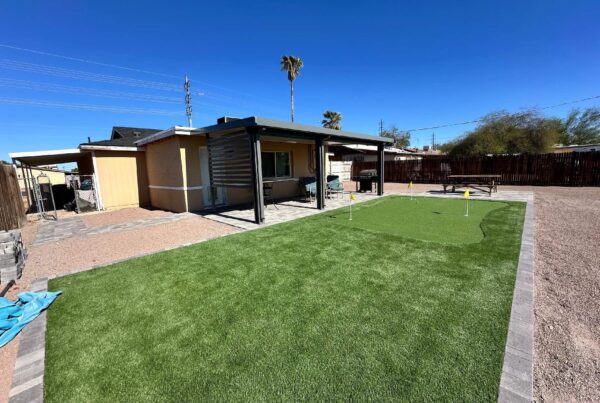
Synthetic grass is a fantastic solution for homeowners, businesses, and landscapers who want a lush, green space without the hassle of constant upkeep. However, laying synthetic grass flat requires precision and technique to achieve a professional look. Here’s a step-by-step guide filled with tips and tricks to ensure your synthetic turf looks flawless.
Step 1: Prepare the Surface
The foundation is key to achieving a flat and smooth finish.
- Clear the Area: Remove any existing grass, rocks, or debris. A clean base is essential.
- Excavate the Surface: Dig to a depth of 2-3 inches to make room for the sub-base material.
- Add a Sub-Base: Spread a layer of crushed stone or decomposed granite, compacting it with a plate compactor. This ensures a level, stable surface.
- Check for Levelness: Use a spirit level to check for evenness across the area. Fill in any low spots and compact again.
Step 2: Lay a Weed Barrier
Prevent weeds from growing through the synthetic turf by installing a geotextile fabric. Cut it to fit the area and secure it with landscape staples.
Step 3: Roll Out the Turf
- Allow the Grass to Acclimatize: Let the synthetic grass sit in the sun for a few hours before installation. This softens the material, making it easier to handle.
- Lay Out the Rolls: Unroll the turf and position it over the prepared surface. Ensure all blades are facing the same direction for a uniform appearance.
Step 4: Trim and Adjust
- Cut with Precision: Use a sharp utility knife to trim excess turf around edges, ensuring a snug fit against borders and obstacles.
- Seam the Rolls: If using multiple rolls, align the edges carefully and secure them with seam tape and adhesive. Press down firmly to avoid visible seams.
Step 5: Secure the Turf
- Stake It Down: Use turf staples or galvanized nails to secure the perimeter and key areas. Space the fasteners every 6 inches along edges and seams.
- Brush the Fibers: Use a power broom or stiff-bristled brush to lift the grass fibers, giving it a natural, upright appearance.
Step 6: Add Infill for Stability
- Choose the Right Infill: Options include silica sand or rubber granules. Infill provides weight, keeps the grass flat, and helps maintain its appearance.
- Spread Evenly: Use a drop spreader to distribute infill uniformly, then brush it into the fibers with a broom.
Step 7: Final Check
Walk over the turf to ensure there are no uneven spots. Adjust and secure as necessary. A quick rinse with water can help settle the infill and keep the grass looking fresh.
Tips and Tricks for Success
- Work on a Warm Day: Heat makes synthetic grass more pliable and easier to lay flat.
- Avoid Creases: Store turf rolls flat or upright to prevent folds and wrinkles.
- Overlap Seams Slightly: When aligning seams, overlap slightly and cut through both layers simultaneously for a perfect match.
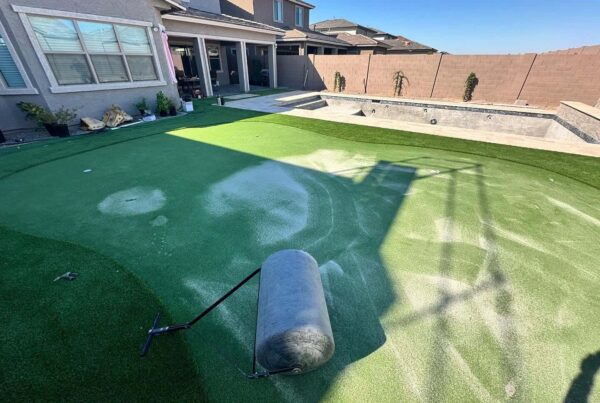
- Use Heavy Rollers: For large areas, roll over the turf with a heavy roller to flatten and compact it further.
Laying synthetic grass flat may seem daunting at first, but with the right preparation and techniques, you can create a stunning, durable surface that looks just like natural grass. Whether for a backyard, playground, or commercial space, following these steps will ensure your installation stands the test of time.